How to Add Internationalization (i18n) to Next.js
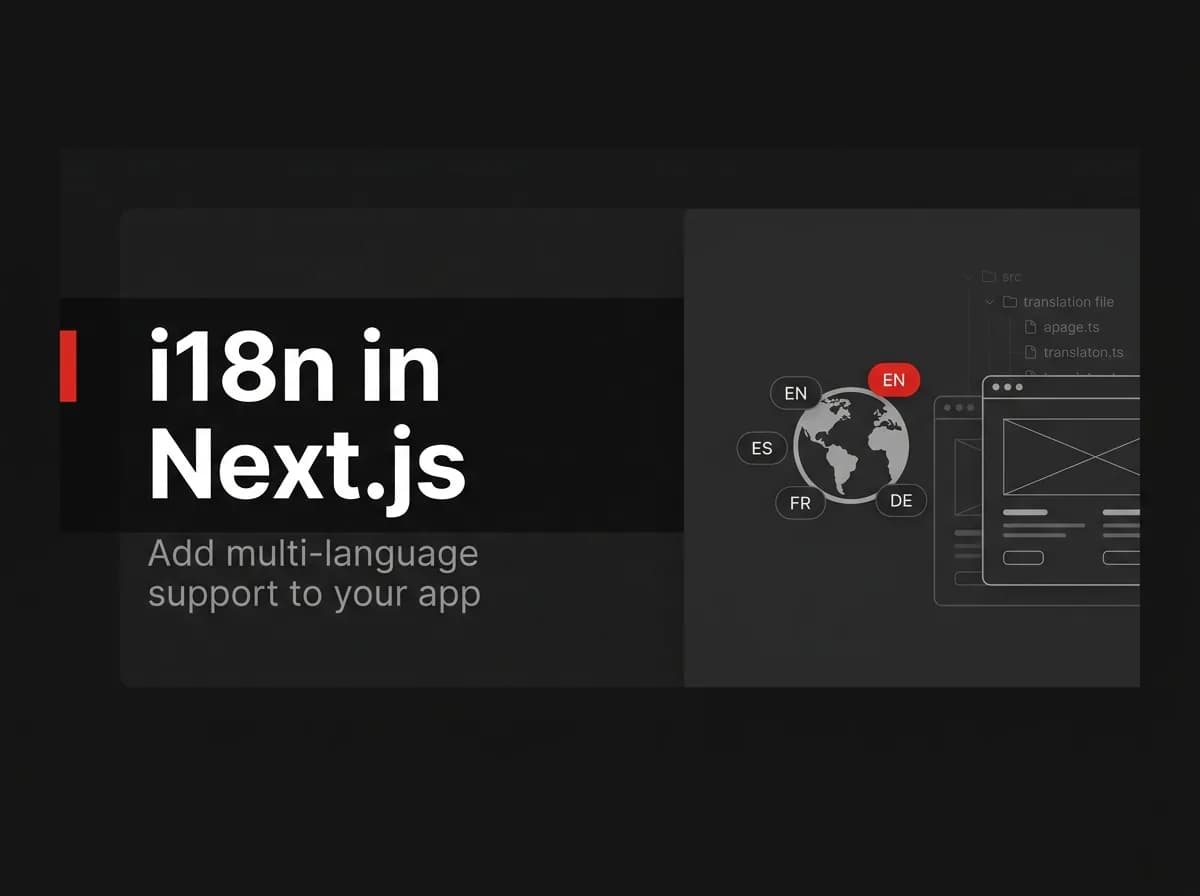
Next.js i18n comes down to three pieces: locale routing, translation files, and locale detection. Give each language its own route segment, such as /en and /fr, store translated strings in per-locale message files, and load the correct file based on the URL. Wire up middleware to detect a visitor's preferred language and redirect them to the right locale, and add hreflang tags so search engines index each language version separately. The App Router doesn't ship built-in i18n routing, so most projects reach for a library like next-intl to handle it.
What nextjs i18n actually means
Internationalization, i18n for short (the 18 counts the letters between the "i" and the "n"), is the work of structuring an app so it can support more than one language without rewriting the codebase per language. Localization, l10n, is the separate step of producing the actual translated content for a given market.
In a Next.js app, i18n covers three problems: routing (which URL serves which language), content (where the translated strings live and how they get loaded), and detection (how you decide which language a visitor sees first). The Pages Router used to solve routing with a built-in i18n key in next.config.js. The App Router dropped that config option, so you now handle routing yourself with route segments and middleware, typically through a library.
Locale routing with the App Router
The standard pattern is a [locale] dynamic segment at the root of app/, so every route becomes locale-aware:
app/
  [locale]/
    layout.tsx
    page.tsx
    about/
      page.tsx
middleware.ts
i18n/
  routing.ts
  request.ts
messages/
  en.json
  fr.json
next-intl is the most common library for this setup because it works with both Server and Client Components and hooks directly into the App Router's middleware and layout system. Define your locales once:
ts
// i18n/routing.ts (untested-here)
import { defineRouting } from 'next-intl/routing';

export const routing = defineRouting({
  locales: ['en', 'fr', 'es'],
  defaultLocale: 'en',
});
Then wire the middleware:
ts
// middleware.ts (untested-here)
import createMiddleware from 'next-intl/middleware';
import { routing } from './i18n/routing';

export default createMiddleware(routing);

export const config = {
  matcher: ['/((?!api|_next|.*\\..*).*)'],
};
This middleware reads the incoming path, matches it against your configured locales, and redirects a bare / request to /en, or to whichever locale the visitor's browser prefers (covered below).
Pro tip: keep the
matchernarrow. Running the locale middleware against static assets or API routes adds latency for no benefit.
Sub-path, sub-domain, or separate domain
Before you wire up routing, decide where the locale lives in the URL. This changes your DNS, SSL, and analytics setup, not just the code.
Strategy | Example URL | Setup effort | Best for |
|---|---|---|---|
Sub-path |
| Low, one Next.js deployment | Most SaaS and content sites |
Sub-domain |
| Medium, wildcard DNS + SSL | Teams that want per-region infrastructure or CDNs |
Separate domain |
| High, full domain per market | Brands with market-specific legal entities or branding |
Sub-path routing is what the [locale] segment pattern gives you by default, and it's the right choice unless you have a specific legal, brand, or infrastructure reason to split domains.
Translations and message files
Each locale gets its own message file, usually JSON, keyed by feature or page:
json
// messages/en.json
{
  "home": {
    "title": "Welcome back",
    "cta": "Get started"
  }
}
Load the matching file based on the resolved locale:
ts
// i18n/request.ts (untested-here)
import { getRequestConfig } from 'next-intl/server';
import { routing } from './routing';

export default getRequestConfig(async ({ requestLocale }) => {
  const locale = (await requestLocale) ?? routing.defaultLocale;
  return {
    locale,
    messages: (await import(`../messages/${locale}.json`)).default,
  };
});
Then pull strings into a component with useTranslations, which works in both Server and Client Components:
tsx
// app/[locale]/page.tsx (untested-here)
import { useTranslations } from 'next-intl';

export default function HomePage() {
  const t = useTranslations('home');
  return <h1>{t('title')}</h1>;
}
Note: namespace your keys by feature (
home.title,billing.cta) instead of one flat file. A flat file turns into a merge-conflict magnet once more than one person edits translations.
Detecting a visitor's locale
The middleware from the routing section already handles negotiation if you leave localeDetection on its default (true): it reads the Accept-Language header on that first request, matches it against your configured locales, and redirects to the closest match. After that, it stores the choice in a cookie, so a returning visitor doesn't get redirected again if they explicitly picked a different language.
For a manual switcher, link directly to the same page under a different locale prefix instead of trying to detect and override automatically. That keeps the visitor in control and avoids fighting the middleware's own logic.
Remember: always keep a
defaultLocalefallback. If detection fails or a locale in theAccept-Languageheader isn't one you support, the app should still render something instead of a 404.
SEO: hreflang tags for each locale
Search engines need to know that /en/pricing and /fr/pricing are the same page in different languages, not duplicate content. That's what hreflang tags are for. Add them with alternates.languages in generateMetadata:
ts
// app/[locale]/pricing/page.tsx (untested-here)
export async function generateMetadata({ params }: { params: { locale: string } }) {
  return {
    alternates: {
      canonical: `https://example.com/${params.locale}/pricing`,
      languages: {
        en: 'https://example.com/en/pricing',
        fr: 'https://example.com/fr/pricing',
        es: 'https://example.com/es/pricing',
      },
    },
  };
}
This outputs <link rel="alternate" hreflang="..."> tags for each locale automatically. Pair it with a sitemap that lists every locale variant of every page; see generate a sitemap in Next.js for the full setup, and the Next.js SEO checklist if metadata and canonicals aren't covered yet.
Further reading: the next-intl documentation covers advanced cases like locale-specific pathnames (
/fr/a-proposinstead of/fr/about), which this guide doesn't get into.
FAQ
Does the Next.js App Router have built-in i18n routing? No. The App Router removed the i18n config key that the Pages Router supported. You handle locale routing yourself with a [locale] segment and middleware, usually through a library like next-intl.
Should I use next-intl or next-i18next? next-i18next was built for the Pages Router and doesn't support Server Components. If you're on the App Router, next-intl is the actively maintained option built for it.
Sub-path or sub-domain routing for locales? Sub-path (/fr) is simpler to set up and is the right default for most SaaS products. Reach for sub-domains or separate domains only if you have a specific infrastructure, legal, or branding reason to split them.
How many locales should I launch with? Start with the languages your actual users or target market speak. Adding a locale later means adding one message file and one entry in your routing config, not restructuring the app.
Do I need a separate sitemap entry for each locale? Yes. Each locale variant of a page is a distinct URL and should appear in your sitemap with its own hreflang alternates.
Where to go next
Locale routing, message files, and hreflang tags cover the core of Next.js i18n. The part that's easy to skip is testing the fallback: hit the app with an Accept-Language header your app doesn't support and confirm it lands on defaultLocale instead of a blank page.
App Router structure matters here if you're building on a boilerplate. FastStaq ships on the Next.js App Router, so a [locale] segment and middleware setup drop into the existing app/ folder without restructuring anything. It's an App Router foundation, not a dedicated i18n module, and it won't fight you when you localize it. FastStaq is $299 one time for the full source, including that App Router base.