Next.js Authentication - A Complete Guide (2026)
Quick answer
Next.js authentication is the process of confirming a user's identity and keeping them signed in across requests, usually through a session cookie or a token. You have three practical paths: build your own system with sessions, OAuth, and magic links; adopt a library like Auth.js; or hand the whole flow to a hosted provider like Clerk or Auth0. Building your own gives you full control and no per-user fees, while a hosted provider trades some of that control for a faster setup.
What is Next.js authentication?
Authentication is the process of verifying a user's identity and maintaining that verified state across requests, typically via a session or token. In a Next.js app, that means checking a credential once (a password, an OAuth token, a magic link) and then remembering the result on every request that follows, without asking the user to log in again.
Authentication gets confused with authorization constantly, so it's worth separating the two here. Authentication answers "who is this person?" Authorization decides what that person can do once you know who they are. You need both, and they're built as separate systems: a user can be fully authenticated and still get a 403 when they try to open an admin page they don't have permission for.
Your options for Next.js authentication
Every Next.js app that needs auth picks from three approaches. Picking wrong won't sink the project, but it does cost time you didn't budget for, usually discovered right before a demo.
Note: Feature sets and pricing tiers for Auth.js, Clerk, and Auth0 change often. Details verified July 2026; check each vendor's site directly for current tiers before you commit.
Approach | Control | Cost | Setup time | Lock-in |
|---|---|---|---|---|
Build your own (sessions + OAuth + magic links) | Full control over data, flows, and UI | No per-user fees; you own the infrastructure | Days to weeks, depending on scope | None, it's your code |
Library (e.g. Auth.js) | High, bounded by the library's provider and adapter model | Free and open source; you still host the database | Hours to a day for a basic flow | Low to moderate, tied to the library's API and providers |
Hosted provider (e.g. Clerk, Auth0) | Lower, UI and flows are largely provider-controlled | Typically a free tier plus per-active-user pricing beyond it | Fastest, often under an hour | Higher, your login UI and user data live outside your codebase |
I'd default to building your own if you're already comfortable with Postgres and cookies. You avoid per-user billing once your app has more than a handful of active accounts, and you're not waiting on a vendor's API for a fix. Skip that advice if you need social login and 2FA shipped in a weekend; a library or hosted provider gets you there faster.
If you'd rather not make the build-versus-buy call project by project, a SaaS boilerplate can ship a working auth system already wired into the rest of your stack, which is the route the rest of this guide leans toward.
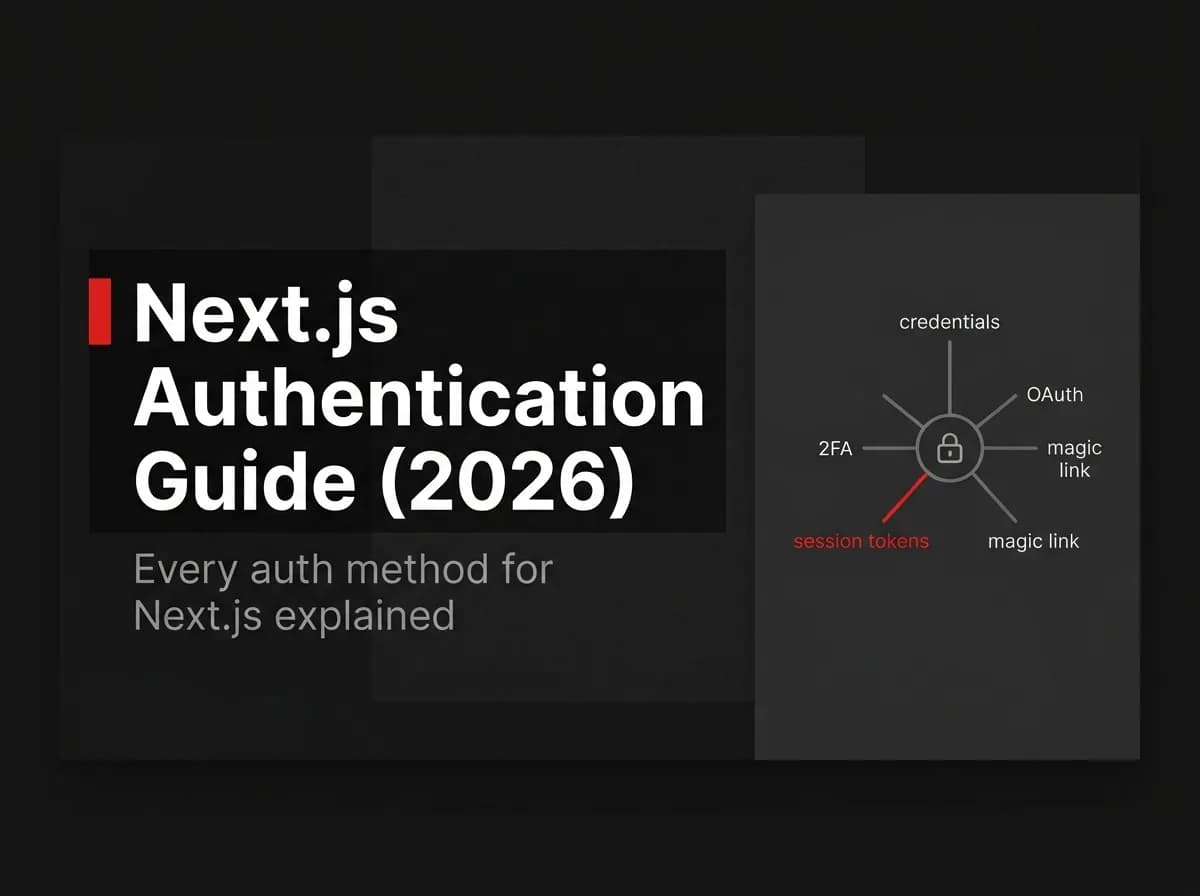
Core concepts: sessions, tokens, OAuth, and magic links
Whichever path you pick, the same handful of building blocks show up. Here's what each one actually does.
Session: a server-side record that marks a user as logged in, referenced by a cookie the browser sends automatically on every request. The server checks that cookie against its session store (a database row or a signed token) to decide if the request is authenticated.
JSON Web Token (JWT): a signed, self-contained token that carries claims about a user, such as their ID or role, without a database lookup on every request. This is the core of the session vs JWT decision: database sessions are easier to revoke instantly (delete the row), while JWTs scale better across stateless servers but stay valid until they expire, since there's no central store to check.
OAuth: a protocol that lets a user grant your app access to their identity, and sometimes their data, on another service like Google or GitHub, without handing you their password. Your app never sees the user's Google credentials, only a token Google issues after the user approves the request.
Magic link: a one-time, expiring link emailed to the user that signs them in without a password at all. It trades a small amount of friction (checking email) for removing password resets and credential stuffing as attack surfaces. For the full implementation, see our magic link authentication guide.
Protecting routes with Next.js middleware
Authenticating a user is only half the job. You also need to stop unauthenticated requests from reaching protected pages before any of that page's code runs. Next.js middleware handles this by intercepting a request, checking for a valid session, and redirecting if one isn't present.
The file path is middleware.ts at your project root. Here's a minimal, illustrative example (untested here, verify against your session-cookie name and matcher paths before shipping):
ts
// middleware.ts
import { NextRequest, NextResponse } from 'next/server';

export function middleware(request: NextRequest) {
  const sessionCookie = request.cookies.get('session_id');

  if (!sessionCookie) {
    return NextResponse.redirect(new URL('/sign-in', request.url));
  }

  return NextResponse.next();
}

export const config = {
  matcher: ['/dashboard/:path*', '/settings/:path*'],
};
This checks for a cookie, not whether the session it points to is still valid server-side; that check still belongs in your route handlers or a session-verification call. For the full pattern, including how to keep the session alive across requests, see our Next.js middleware authentication guide.
Once middleware redirects an unauthenticated visitor, it needs somewhere to send them. Our Next.js sign-in page guide covers the UI side: form validation, error states, and wiring the submit handler back to your session logic.
Further reading: For the official breakdown of authentication, session management, and route protection in Next.js, see the Next.js authentication guide.
Roles and permissions (RBAC) in Next.js apps
Once you know who a user is, role-based access control (RBAC) decides what they can do. Users get assigned one or more roles, roles get assigned a set of permissions, and your app checks those permissions before rendering a UI element or allowing a mutation.
A minimal RBAC setup needs three things: a Role record, a Permission record, and a join table connecting them, plus a way to attach roles to users. Most apps also need one role that outranks the rest for account-level actions like billing or deleting the workspace.
Checking permissions belongs in two places: server-side before any data mutation (never trust the client), and in the UI to hide actions a user can't take, purely for a cleaner experience. The server-side check is the one that actually protects anything.
Next.js authentication security checklist
A working login form is not the same as a secure one. Run through this list before you ship:
Hash passwords properly: use bcrypt or argon2, never store plaintext or reversible encryption.
Set
HttpOnlyandSecureon session cookies: blocks JavaScript from reading the cookie and enforces HTTPS-only transport.Set
SameSiteon session cookies:StrictorLax, to reduce cross-site request forgery exposure.Rotate the session ID after login: prevents session fixation, where an attacker sets a session ID before the victim authenticates.
Rate-limit login and magic-link endpoints: slows down credential-stuffing and brute-force attempts.
Expire sessions server-side: apply both an idle timeout and a hard maximum session lifetime.
Validate OAuth
stateand redirect URIs: closes off open-redirect and CSRF gaps in the OAuth handshake.
Remember: authentication and authorization are separate systems. Fixing one doesn't fix the other, so audit both.
Further reading: the OWASP Session Management Cheat Sheet covers cookie attributes, session ID entropy, and fixation defenses in more depth than fits here.
How FastStaq handles authentication
Full disclosure: I work on FastStaq, a full-stack SaaS boilerplate, so take the rest of this section as an interested party's pitch rather than neutral advice.
FastStaq does not sit on top of Clerk, Auth0, or Supabase Auth. It owns its authentication end to end: email/password sessions, Google OAuth, magic links, TOTP-based two-factor authentication with trusted-device support, and API keys, all backed by Prisma models running against Postgres. Role-based access control ships with it too, with roles and permissions defined up front and an OWNER role sitting above the rest for account-level actions. For the how-to on adding a second factor, see our Next.js two-factor authentication guide.
That auth system is part of the same $299 one-time purchase that covers the rest of FastStaq: the Next.js client, the Express API, background workers, and the 120+ tests already covering the stack. There's no per-seat auth bill layered on top of your own SaaS pricing.
Pro tip: When you're weighing build vs library vs hosted for a new project, price out what a hosted provider charges per active user at the user count you actually expect to hit. A flat one-time cost for owned auth tends to win on unit economics once you're past a few hundred users, though your mileage will depend on the provider and plan.
FAQ
How does Next.js authentication work? A user submits credentials (a password, an OAuth approval, or a magic-link click), the server verifies them, and issues a session cookie or token. Every later request includes that cookie, and Next.js middleware or a server-side check reads it to confirm the user is still signed in before granting access to a protected route.
What's the best auth option for Next.js? There isn't a single best option, only the right tradeoff for your stage. Building your own or using a boilerplate with auth already wired in suits teams that want full control and no per-user costs, a library like Auth.js suits teams that want flexibility without hosting a login UI, and a hosted provider like Clerk or Auth0 suits teams that want the fastest possible setup.
Session vs JWT: which should I use? Database sessions are easier to revoke instantly, since deleting the row ends the session immediately, which makes them a solid default for most apps. JWTs work better when you need stateless verification across many servers with no shared session store, at the cost of tokens staying valid until they expire.
Does FastStaq use Clerk or Auth0? No. FastStaq ships its own auth system (sessions, Google OAuth, magic links, 2FA, and RBAC) built on Prisma and Postgres, rather than wrapping a third-party auth vendor.
Is Auth.js free to use? Yes, Auth.js is an open-source library, so there's no license fee to use it. You're still responsible for hosting the database it stores sessions or users in, and for any infrastructure costs that come with running your app.
Where to go next
Next.js authentication comes down to three real choices: build it yourself, use a library like Auth.js, or hand it to a hosted provider like Clerk or Auth0. Sessions, OAuth, and magic links are the building blocks regardless of which path you pick, and middleware plus RBAC are what turn "logged in" into "allowed to do this specific thing." Security is not optional at any tier; the checklist above applies whether you built the system or bought it.
If you're implementing this yourself, the next concrete step is picking your session strategy (database vs JWT) and wiring up Next.js middleware for route protection. If you'd rather start from a working system, FastStaq ships sessions, Google OAuth, magic links, 2FA, and RBAC out of the box for a $299 one-time payment, with the auth how-to guides above covering the details: middleware, magic links, sign-in pages, and two-factor authentication.